Hello, today we going into the final week of Art Camp at Home, with the new theme of Up Above Us, and we are starting with the Night Sky. Our first activity is to make a beautiful picture of the moon, and I have 5 ideas to help you do that! So let’s get going – pick your favourite and have ago, or experiment with your own ideas!
5 Ways to Make the Moon
Tin Foil Moon
Some tin foil, coins and a piece of card – genius! This idea from Make Film Play is so clever and effective, and really simple. Its great for all ages and is a great way to play with different materials!
Watercolour Moon
3 Dinosaurs has a nice tutorial on how to paint a watercolour moon here.
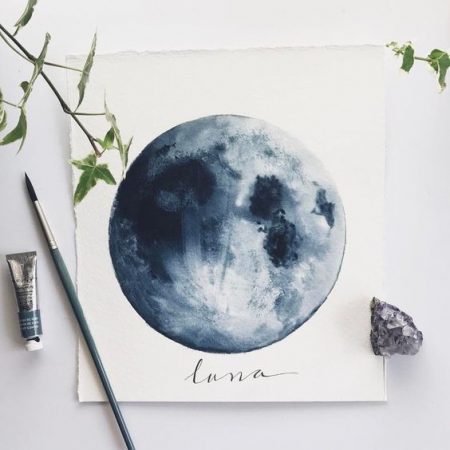
Here are 2 other watercolour moon paintings that I love. I like the handwriting over the top of the moon in the first one, and I like the more contrasting colours in the second.


Why don’t you experiment with different amounts of water and paint and see what you come up with? You can leave you moon on the white paper, or try cutting it out and sticking it on some black paper, try adding a few dots of paint or some glitter for stars…
Puffy Paint Moon
Have you tried making puffy paint before? If you have, you will know how much fun it is – if you haven’t now is the perfect time to give it a go! Hop over to Rainy Day Mum to see exactly how they made these fab puffy paint moons, and then have a go!
Paper Plate Pompom Printed Moon
Here’s a lovely straightforward way to make a moon and get a great crater effect – Crafts On Sea use pom poms to print on a paper plate! I love the different shades of grey which give the illusion of darker areas and deeper craters.
Tin Foil Printed Moon
Here’s another print making technique to try from A Dab of Glue Will Do – use tin foil scrunched up to get the crater effect. What else could you use? I think a scouring pad or sponge might work well…
Moon with Silhouette
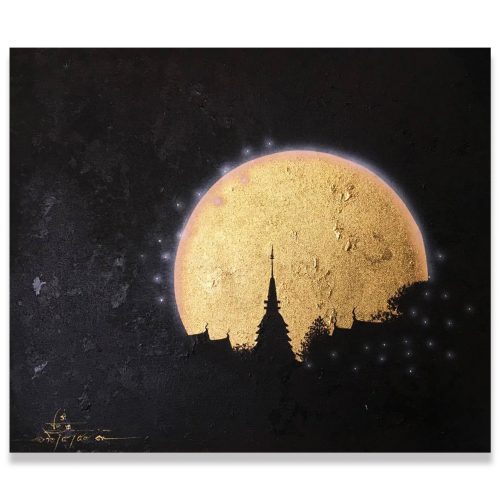
Another way to make a beautiful moon picture is to use the moon as a light for a silhouette. picture. Remember the silhouettes we did on our African Animal day? The same applies here; you can make your background in any way, although I do really like this water colour (above).
You can roughly paint the moon first, then let it dry, then cover it with a cup or other round shape while you paint the night sky around it. Covering the shape will stop the darker colours bleeding into the moon, and when you uncover it, it will be shining brightly!
Once you have your background, you can use black pen, paint or paper to make the silhouette in front of the landscape. The rabbits are super cute, but you could make anything; trees, flowers, mountains, other animals or even people.
Button Crescent Moon
I just realised that all the ideas I am sharing are of full moons, and of course there are many phases, and therefore, shapes of the moon! So I went looking for a beautiful crescent moon, and found this! Unfortunately, I can’t find the original credit for it, but you can see how it is made, simply by collaging with buttons within the lovely crescent shape. What else could you use to collage with? Sequins, glitter, coloured paper, or something else?
A NOTE: On the point of all the other ideas being full moons, you can of course, use the same ideas but change the shape you are making to create a crescent, half or gibbous moon.
Lunchtime Viewing
Our film today is La Luna from Pixar. It is one of my most favourite short animations. Enjoy…
I hope you have fun making your moon, do hop on to FB group to share your creations!
Are you ready to make some Night Sky Scapes?
Sharing is Caring
If you want to share this post, please use this image – Thank You!


